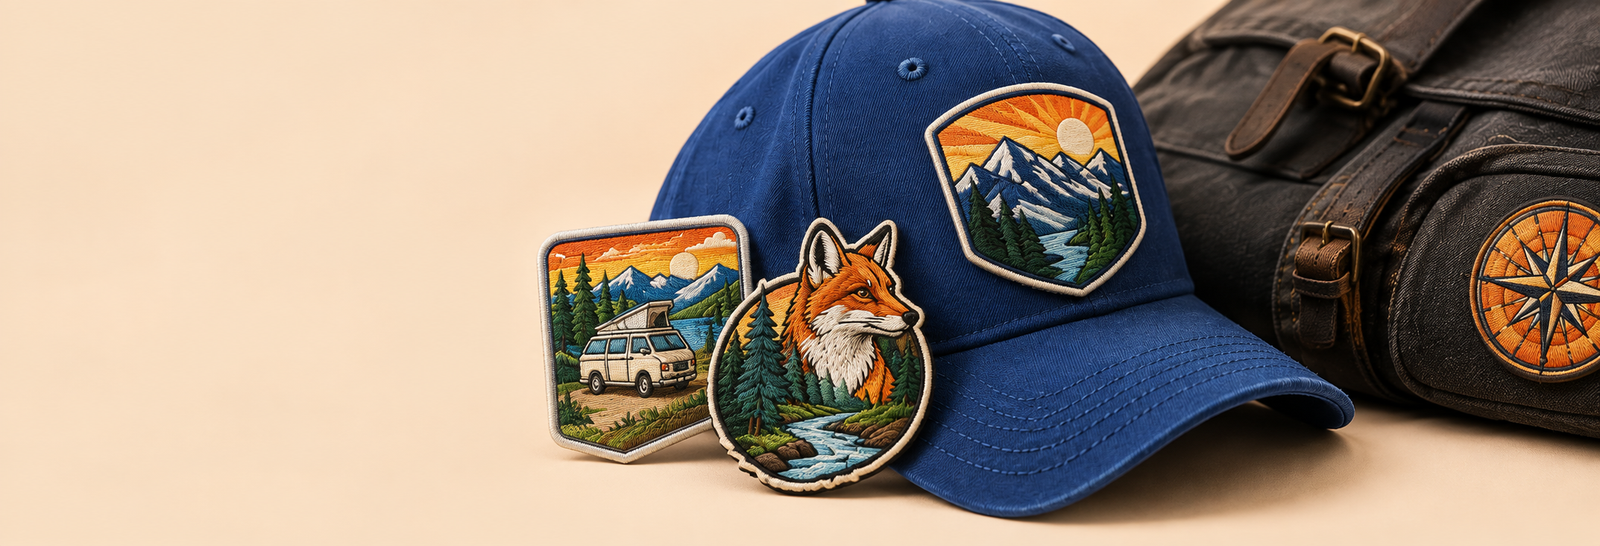
Choosing a custom patch starts with three questions: where will it be used, what does the artwork need to show, and how will it be attached? A design that works well on a jacket sleeve may need a different size or backing when moved to a curved cap or a coated backpack.
This guide helps brand owners, uniform suppliers, distributors and event buyers turn a logo into a clear product specification. Before placing a bulk order, compare the options at the finished size and confirm the construction with a sample.
Quick decision: consider embroidery for visible thread texture, woven construction for finer lettering, print for gradients, PVC for a molded look, and leather for a restrained branded finish. Then choose the backing to suit the actual garment or bag.
1. Start with the product and its use
Identify the application before selecting a material. Note the placement area, surface fabric, washing routine and whether the patch must be removable. For caps, measure the usable front panel and consider the curve and center seam. For uniforms, check the available sleeve or chest area. For bags, identify coatings, padding, pockets and seams that could complicate attachment.
Send a photo of the intended placement together with approximate dimensions. If several products will carry the same logo, test each application rather than assuming one specification fits every surface.
2. Compare the six custom patch styles
The best process depends on the artwork and the finish you want. Use this comparison to shortlist options, then review your actual design with the supplier.
| Patch type | Visual character | What to check |
|---|---|---|
| Embroidered Patches | Raised stitching and a classic textile appearance. | Small letters, thin lines and the amount of visible base fabric. |
| PVC Patches | A flexible molded surface with defined shapes and optional raised layers. | Thickness, relief depth, color separation and attachment method. |
| Woven Patches | A flatter thread surface that can accommodate finer detail than traditional embroidery. | Letter readability and color contrast at the final size. |
| Printed Patches | Full-color artwork suited to gradients and image-based designs. | Print definition, substrate and the intended care routine. |
| Leather Patches | A leather or leather-like finish, often with engraved or embossed branding. | Genuine versus synthetic material, logo contrast and care compatibility. |
| Embroidered + Printed Patches | Printed detail combined with selected stitched elements. | Which areas are printed, which are stitched and their alignment. |
For example, a bold club emblem may suit embroidery, while a compact logo with a long tagline may be worth testing as a woven patch. A detailed illustration with tonal shading may translate better through print. These are starting points; a physical sample is the final check.
3. Select a backing that suits the surface
The face material creates the look; the backing determines how the patch is installed and used.
- Sew-on: suitable when permanent stitching is intended. Confirm sewing access and whether the finished garment can accommodate stitching.
- Iron-on or heat-seal: uses a heat-activated adhesive. Confirm the patch-specific temperature, pressure and dwell time, and test the actual fabric before application. Heat-sensitive or coated materials require special attention.
- Hook-and-loop: useful when the patch should be removable. Specify whether you need only the hook backing or both hook and loop pieces.
- Adhesive: can suit temporary placement or particular display applications. Check adhesion on the intended surface and do not assume it performs like a permanently attached garment patch.
Ask for attachment and care instructions for the selected combination. There is no universal application setting that works for every patch and fabric.
4. Confirm size, shape and edge finish
State both width and height in millimeters or inches. Print the artwork at actual size, place it on the product and check the logo from a normal viewing distance. A screen preview can make tiny wording appear much easier to read than it will be on the finished patch.
A merrowed edge gives a wrapped thread border and is commonly used for straightforward outlines. A cut or stitched edge may suit more complex silhouettes. Ask which finish supports your shape and how much space the border occupies.
For embroidered patches, also confirm embroidery coverage: the portion of the face covered by stitching. More coverage changes the appearance and may affect the quote; it does not automatically make the design more effective.
5. Prepare artwork for production
Supply the clearest original logo file available. A vector file is useful for defining shapes; detailed printed artwork may also need a high-resolution image. Include a color reference, the finished dimensions and any brand rules.
- Identify wording that must remain readable.
- Mark gradients, fine lines and small gaps that are important to the design.
- Specify the background and border colors.
- Confirm whether simplification is acceptable if a feature cannot reproduce clearly.
- Review spelling, logo proportions and orientation in the proof.
Color can look different on a monitor, thread, molded PVC and printed fabric. If an exact visual match matters, discuss a physical reference and sample approval instead of relying only on a screen image.
6. Compare quotes using the same specification
A useful price comparison includes the same quantity, dimensions, construction, backing and packaging. Ask whether setup, tooling, sampling and delivery are included, and whether price breaks apply to your quantities. Avoid choosing on unit price while overlooking a different material or attachment specification.
Work backward from your required delivery date. Allow time for artwork review, sample approval, production and shipping. Confirm the schedule for your order rather than assuming a general advertised lead time will apply.
7. Approve a sample before a bulk order
Review the sample on the actual product where possible. Check lettering, color, edge consistency, thickness, flexibility and placement. For a removable patch, test how the backing engages with the matching surface. For a permanent application, test the proposed attachment and relevant care routine.
Record the approved specification and any changes in writing. Keep an approved sample as a reference for the bulk order and future reorders.
Custom patch quotation checklist
- Logo file or reference artwork
- Patch type and preferred finish
- Finished width, height and shape
- Colors, edge style and embroidery coverage where relevant
- Backing and application surface
- Quantity and number of designs
- Individual packaging or bulk packing requirements
- Delivery country, postal code and target arrival date
- Sampling and approval requirements
Frequently asked questions
Which patch is best for a detailed logo?
Woven or printed construction is worth considering for fine details. The choice depends on the final size, the amount of small text and whether the artwork needs gradients. Ask to compare the design at actual size.
Can I use the same patch on hats and backpacks?
You can keep the same branding, but the size and backing may need to change. Curvature, seams, coatings and attachment access should be checked separately.
Is iron-on backing suitable for every fabric?
No. Confirm heat tolerance and application instructions for the fabric and patch combination. Test before applying to a finished product.
What should I send if my artwork is not finished?
Send a sketch or clear reference, the intended application, approximate dimensions and expected quantity. Identify which details are fixed and which are open for discussion.
Ready to choose your custom patch?
Tell YOUMIGIFT how the patch will be used and share the artwork you have. We can discuss the patch style, backing and information needed for your project quotation.